Demo
A live demo can be found here.
Project Purpose
LMS is an app where you can add new courses or where you can learn new things from the courses already added to the app. Courses can be free or paid.
UX
User Stories
- as a Student I want to:
- view a list of courses so I can select some to purchase
- view individual course details so I can view the price, description or image
- add a course to my cart so that I can buy that course
- review my cart so I can make adjustments prior to checkout
- review my orders so I can see what I’ve purchased in the past
- search for a course so that I can find a specific course
- add a rating for a ourse so that other students can know the course rating
- as an Admin I want to:
- add new courses so I can have more students joining
- add as many lessons as I need for a course so that students learn new things
- add a course in a specific topic so that can make it easier for students to easily find courses
Structure
The app is strucured with a backend and a frontend. Backend is only accessible by admins and from there they can add new topics or courses, manage new users or manage orders created on the frontend.
From the frontend users can search for courses, view individual course details, add ratings, buy courses or enroll to courses.
After an user purchases a course the lessons will become available for him to see by clicking on the lesson name and the content will slide down, if the course is not purchased clicking on the lesson title will do nothing.
Skeleton
Technologies
- HTML
- CSS
- Bootstrap (v4.4.1)
- Javascript and jQuery (v3.5.1)
- PostgresSQL
- Python Django
Features
- Existing Features:
- create an account
- add courses to your cart so that you can buy them from the checkout page
- remove courses from your cart
- search for specific courses
- Features to Implement:
- add images/videos as lessons
- add courses/lessons from the frontent
- add quizzes at the end of the courses
- give certificates on course completion
Testing
The app was tested on all major browsers with no known issues.
When I started the deployment process I coould not deploy to Heroku as I had an issue with Heroku not detecting the language used. After spending lots of time trying to figure out what I am doing wrong I found out that I had all my project files in an unnecessary extra folder, not directly on the root of the project, this was created at the very start of the project and I am not sure why I didn`t noticed it until deployment.
While testing the checkout function I realized that if a guest buys a course there is no way to know which guest bought the course so that will make the course available to all guests so I added @login_required for the checkout page for the moment.
When testing on the official validator services I had some HTML errors and warnings which were corrected. There are also some errors on warnings on CSS all of them from Bootstrap.
Admin demo user: ademo/ademoademo
Deployment
The site is hosted on GitHub, deployed from the master branch. The deployed site will update automatically upon new commits to the master branch.
The project is also hosted on Heroku here. To deploy the app to Heroku, you typically use the git push command to push the code from your local repository's master branch to your heroku remote, like so: \$ git push heroku master.
To run locally, you can clone this repository directly into the editor of your choice by pasting git clone https://github.com/onisstudio/learning-management-system-ms4.git into your terminal. To cut ties with this GitHub repository, type git remote rm origin into the terminal.
The following process was undertaken to succesfully deploy the project on the Heroku:
- Added a requirements.txt file using 'pip freeze > requirements.txt', so that Heroku knows which apps to install to get the project running
- Created a Procfile with 'web: gunicorn learning_management_system.wsgi:application'
- Pushed everything to Github
- Created a Heroku app with all the environmental variables that I'm using within the project
- From the Deploy tab I enabled Automatic deploys
Credits
Full Stack Frameworks module: A lot of the code added was inspired by following this module.
Media
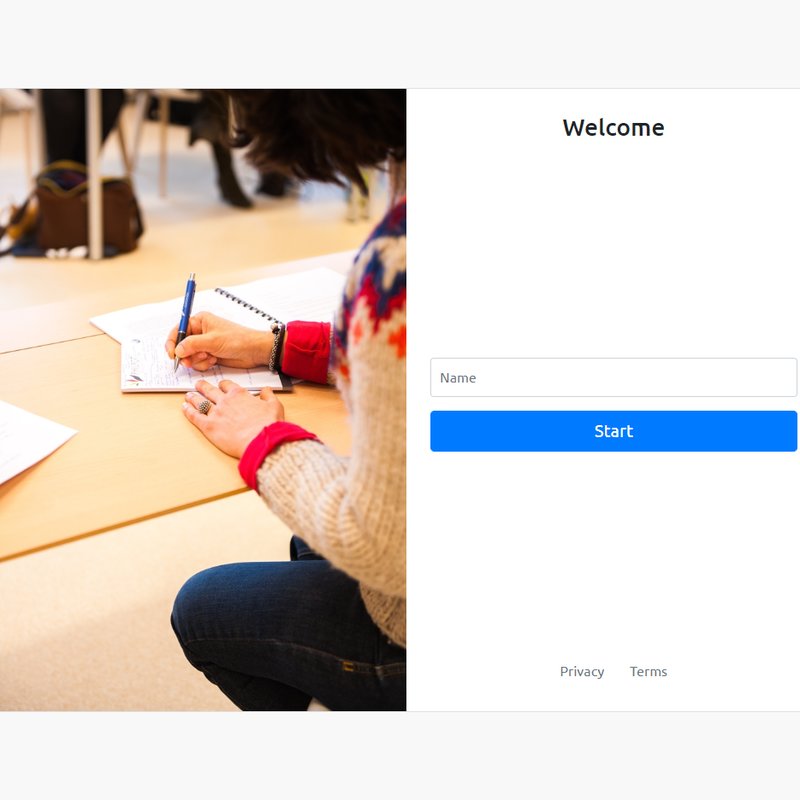
The photo used on the main page was obtained from Pexels.
# Personal Journal
Data Centric Development Milestone Project | Personal Journal
## Demo
A live demo can be found [here](https://personaljournal.herokuapp.com/).
## Project Purpose
The purpose of the project is to allow users to create an online journal where thay can express their memories and the feeling they had at the moment of writing the story.
## UX
### User Stories
As a new user you can login and can add new entries in the journal, edit entries, archive/unarchive entries and also delete entries.
### Strategy
My goal was to create an user-friendly web application where users can easily add journal entries.
### Scope
The scope of the application is for users to easily add new entries, edit entries or delete them.
### Structure
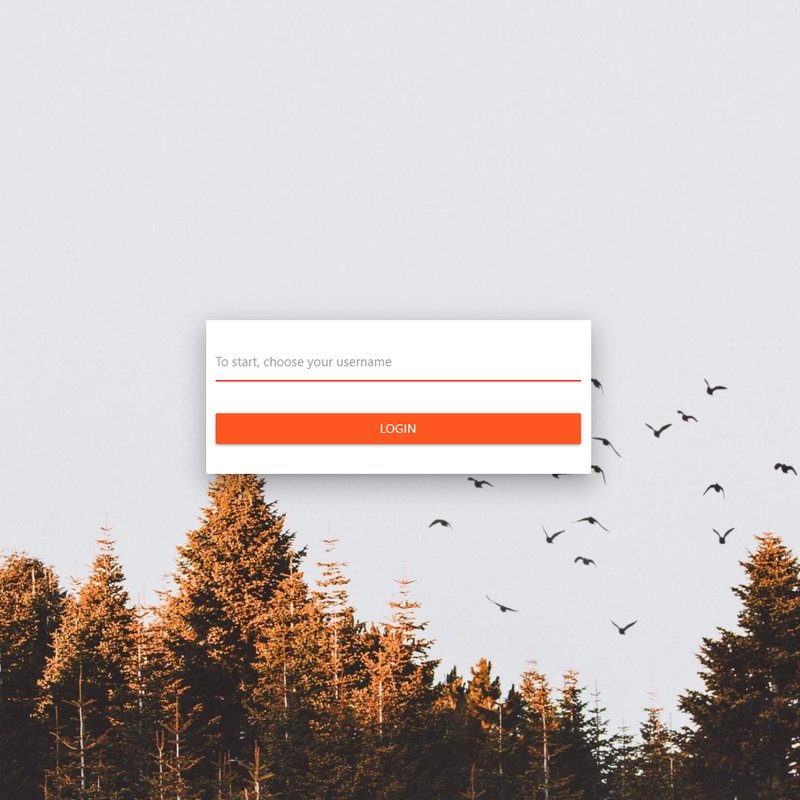
The application is a one page app which has a login page for first time users, after login the users have a top navbar, a collapsible sidebar and the main content. To a add a new entry you need to go on the "Add entry" page or you can click on the floating button on the bottom right corner. When addding a new entry, the user can add a story and a feeling.
### Skeleton
[Landing wireframe](https://github.com/onisstudio/personal-journal-ms3/blob/master/wireframes/landing.png)
[Landing mobile wireframe](https://github.com/onisstudio/personal-journal-ms3/blob/master/wireframes/landing-mobile.png)
[Login wireframe](https://github.com/onisstudio/personal-journal-ms3/blob/master/wireframes/login-page.png)
[New entry wireframe](https://github.com/onisstudio/personal-journal-ms3/blob/master/wireframes/new-entry.png)
### Surface
The color scheme offers a white background a dark navbar and footer. The entries are using the card component with a white background.
## Technologies
1. HTML
2. CSS
3. Materialize (v1.0.0)
4. Javascript and jQuery (v3.5.0)
5. MongoDB Atlas
6. Python+Flask
## Features
The app allows users to add journal entries. When adding a new entry the user can add a story and a feeling, the feeling list is auto populated from the database. Entries can be edited, archived or deleted. Archived entris will go on a separate page and can be accesed at a later time, they also can be unarchived. When deleting an entry a confirmation modal will be shown to the user. Logging out will send the user back to the login page, keeping all the entries in the database from where they can be accesed at a later time.
### Future plans
Some of the features that can be implemented:
- add images/videos to the entries
- instead of delete confirmation add "Undo" option, add "Bin" page
- add a WYSIWYG editor
- add pagination
## Testing
The app was tested on all major browsers with no known issues.
When testing on the official validator services I had some errors with duplicate ids for some elements, errors that were corrected.
After fixing the ids issues, tested HTML, CSS and JS on the official validator services. No other major issues found.
## Deployment
The site is hosted on GitHub, deployed from the master branch. The deployed site will update automatically upon new commits to the master branch.
The project is also hosted on Heroku [here](https://personaljournal.herokuapp.com/). To deploy the app to Heroku, you typically use the git push command to push the code from your local repository's master branch to your heroku remote, like so: \$ git push heroku master.
To run locally, you can clone this repository directly into the editor of your choice by pasting git clone <https://github.com/onisstudio/personal-journal-ms3.git> into your terminal. To cut ties with this GitHub repository, type git remote rm origin into the terminal.
## Credits
### Media
The photo used on the login page was obtained from [Pexels](https://www.pexels.com/).
Demo
A live demo can be found here.
UX
User Stories
As a user who wants to learn how to dive I want to see the available courses and the diving team.
As a user who already know how to dive I want to see upcoming events.
Strategy
My goal was to create an user-friendly website where users can view details about the diving team, available courses and the upcoming diving events.
Scope
For users who want to learn how to dive I wanted to include an "about us" section to learn about the diving centre and also display the available courses that the centre is offering.
Structure
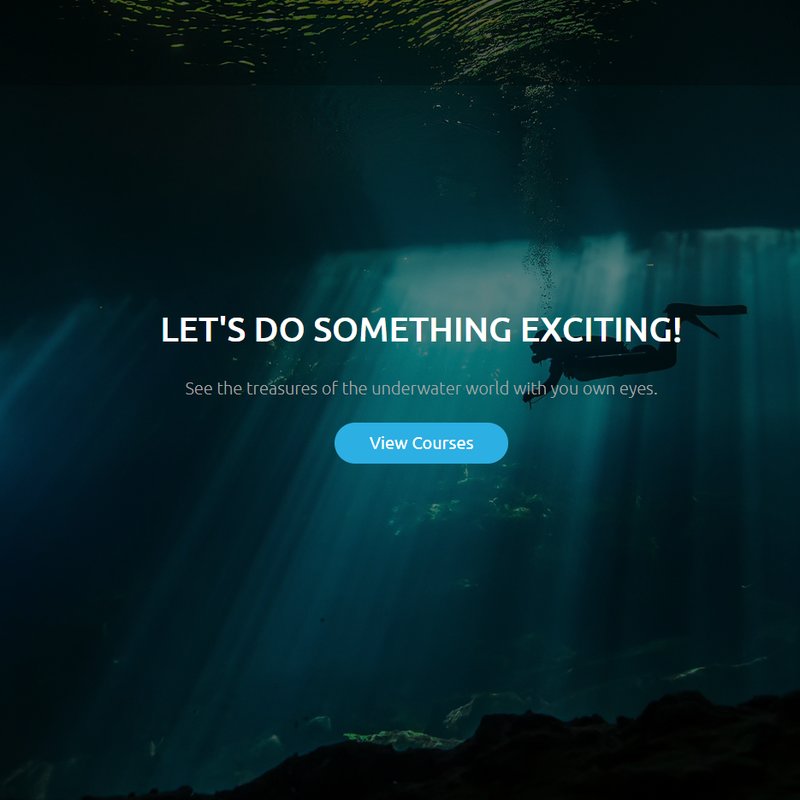
On the main page there is a full-page cover and three sections providing some info about the centre, presenting the team and testimonials from previous users. "Courses" page presents the courses that are available at the centre. "Events" page shows the user the upcoming events that will take place at the centre and "Contact" page presents the user a form from where they can send the centre a message or ask for more information and also you can find the address, phone number or the opening time of the centre.
Skeleton
Surface
The color scheme offers a contrast between a dark gray and blue. Page titles, header and footer are consistent across all pages.
Technologies
- HTML
- CSS
- Bootstrap (v4.4.1)
Future Plans
In the future, I would like to add the option to book time for a specific course and also a new page when the centre can service diving equipment.
Testing
Both as a new diver or an experienced diver you can find what courses you can do or the events that you can attend at the centre. Tested across multiple browsers (Chrome, Safari, Internet Explorer, FireFox) and on multiple mobile devices to ensure compatibility and responsiveness.
When submitting the contact form without a first name, last name, phone, message or an invalid email address, there will be an error asking to correctly input those fields. If all fields are valid, the page will reload.
Deployment
The site is hosted on GitHub, deployed from the master branch. The deployed site will update automatically upon new commits to the master branch.
To run locally, you can clone this repository directly into the editor of your choice by pasting git clone https://github.com/onisstudio/diving-centre-ms1.git into your terminal. To cut ties with this GitHub repository, type git remote rm origin into the terminal.
Credits
Content
The content from "About Us" section, "Testimonials" section and "Services" page is written by me and it is a fictive content. All the names used are fictive. Some content used on "Courses" and "Events" pages are taken from: Dive Rutland
Media
The photos used in this site were obtained from Pexels.
Demo
A live demo can be found here.
UX
User Stories
A new user can input a new name which will log in to the main app. After login the user can start adding new notes. When you add a new note you can write a title, which is optional, some content, which is required, and you can also select a background color for the note. After the note is added you can pin the note, which will show the note on top of all the other notes and later it can also be unpinned which will get the note back with all the other notes. The note can also be archived, which will send the note to the archive page and can be seen there at a later stage and from there it can be unarchived. The user can also edit a note, this will allow the user to change the title, content or color. The last thing that the user can do with the note is to delete it, which is a permanent action and cannot be undone.
Strategy
My goal was to create an user-friendly application where users can easily add notes, pin important notes and also choose a note background color.
Scope
The scope of the application is for users to easily add new notes, pin important notes and categorize them by colors.
Structure
The application is a one page app which has a login page for first time users, after login the users have a top navbar, a collapsible sidebar and the main content. To a add a new note a modal will show with all the inputs, title is optional and content is required. All notes have and edit, pin, archive and delete option.
Skeleton
Surface
The color scheme offers a white background with a brick-style effect and a gray navbar. The notes that can be added by users can be different colors and depending on note color, the text color will be black or white.
Technologies
- HTML
- CSS
- Bootstrap (v4.4.1)
- Javascript and jQuery (v3.4.1)
- Dexie.js - A Minimalistic Wrapper for IndexedDB
Features
The app allows users to add notes with a title, content and color. Users can pin important notes, which will show on top of all the other notes. Notes can also be edited, archived and deleted. Archived notes will go on a separate page and can be accesed at a later time, they also can be unarchived. When deleting a note a confirmation modal will be shown to the user. Logging out will delete all the notes and the user will have to log in again.
Future plans
The main feature that is required is to make Internet Explorer compatible with indexeddb API (using IndexedDBShim).
Some other features include:
- multiple users
- add images/videos to the notes
- categorize notes with a label
- add notifications to user after action is done
- drag and drop features
- instead of delete confirmation add "Undo" option, add "Bin" page
- add toasts for notifications
- add notes reminders
Testing
The app was tested on all major browsers, all of them working except Internet Explorer because of partial support for indexeddb. I decided to just show a message to Internet Explorer users that at the moment we are only supporting modern browsers. As a future plan, IndexedDBShim can be used to add support for Internet Explorer.
While testing if all the functions are working, my mentor found one error on logout function, which was fixed. Also on same testing I realized that when an item is updated the created date is showing, changed to show the updated date.
Tested notes with very long title and very long content and the output was not very good, limited the number of characters for the title and added overflow for the item content and now it looks much better.
Tested HTML, CSS and JS on the official validator services. No major issues found.
Deployment
The site is hosted on GitHub, deployed from the master branch. The deployed site will update automatically upon new commits to the master branch.
To run locally, you can clone this repository directly into the editor of your choice by pasting git clone https://github.com/onisstudio/notes-and-lists-ms2.git into your terminal. To cut ties with this GitHub repository, type git remote rm origin into the terminal.
Credits
Media
The photo used on the login page was obtained from Pexels.
Acknowledgements
Got inspired from Google Keep note taking app.
Used this piece of code to get current date in DD-Mon-YYY format.
The brick style pattern for the background is from Hero Patterns.
From our Blog
Browse
Need Help?
Profile
Joomla! ® name is used under a limited license from Open Source Matters in the United States and other countries.
Onis is not affiliated with or endorsed by Open Source Matters or the Joomla! Project.
Onis does not sell it's products on 3rd party sites. Any website offering Onis products for sale are not licensed versions and should be considered a scam. Never download our products from file sharing websites like rapidshare, torrents or warez forums. We have received reports of malicious versions of our software containing viruses, extra code, and even once installed, delete your database, steal sensitive information such as passwords, and credit card information. There is only one place to get the full and safe licensed versions of our software and you're looking at it! Enjoy.
